Some time ago I assembled a fanless, silent, low-power server for my own use.
That machine runs many services that I use daily (plex, owncloud, openvpn, gitlab, influxdb, grafana, …) and offers endless possibilities (theoretically: in the real world, RAM runs out).
This thing is so useful that people started asking me to build one for them as well. I have the whole setup in ansible and all services running in docker, so going from a freshly installed Ubuntu to running plex, owncloud and openvpn on ZFS storage is a 1 hour job.
The more time consuming part is selecting the hardware!
So here’s some reference about what I bought for a machine that I assembled and configured recently and also some explanations about why I preferred (once again) assembling instead of buying commercial products.
The requirements for a machine of this type are the following:
- It must be running 24/7 and it must be very energy efficient
- It must be easily expandable (at least the storage)
- It must run a vanilla operating system for maximum flexibility (it’s easy enough to run a bunch of applications with docker that satisfy most requirements for home usage)
- It must use ZFS to offer a storage pool (thinking of data integrity)
- It must have “enough” RAM (a fair requirement for early 2018 is 16GB)
- The form factor must be small (because you may want to hide it away in the living room)
Unfortunately, what is available on the market usually doesn’t satisfy all requirements:
- If the CPU is low-powered, there is usually a very small amount of RAM (2 or 4 GB)
- If there is “enough” RAM, the CPU is a “traditional” one (i3, i5) and can consume an amount of power that would be noticed in the energy bill
- User interfaces of NAS products are easy and convenient, but don’t offer enough flexibility
- Disks cannot be easily added to cases due to physical constraints
The home server that I have in mind is more than a NAS and more than a media server, but very different than a normal desktop computer. So, yes, assembling for lack of alternatives.
Components
CPU
Intel Celeron J series CPUS and Intel Pentium J Series have a very low TDP. They range from 6W to 10W.
For the home server, CPU is not critical. The most CPU intensive tasks that I notice are the startups of some docker containers (for example, gitlab), but otherwise my processes are not CPU bound.
I picked the J4205, but I am sure that other CPUs of those series would do their jobs equally well.
Motherboard
The motherboard must support 16 GB of RAM and at have at least four SATA3 connectors. Even if you want to use just two disks, having some spare connectors is very useful for swapping disks in and out of ZFS pools, if needed.
The mini-ITX form factor is preferred as it’s easy to find cases for.
I decided to shop at AsRock, as they generally have good prices for their products and I picked the J4205-ITX motherboard for ca. 115 €. Note that this model ships with the CPU.
Memory
The cheapest 16GB SO-DIMM DDR3L RAM that I could find was this Samsung PC3L-14900S, so I went for it. There is no need for low latency. Reliability and cost are the most relevant factors to consider.
Disks
I needed two disks of the same size to be configured in a ZFS mirrored pool.
The only requirement for the disks was to support 24/7 operation (NAS aware).
The size is of course up to the user.
I went for 2 WD RED 3.5″ 4 TB disks (I also considered the Seagate Iron Wolf and then went for the WD for no specific reason).
Case
This is where I really spend most of my time.
There is no perfect case for my home servers.
What would I need:
- Space for one mini-ITX motherboard
- Space for four 3.5″ disks, ideally with sliding disk bays
What I find:
- Mini-ITX cases with space for one mini-ITX motherboard and two 2.5″ disks
- Mini-ITX cases with additional room for one huge graphics card
- Huge Mini-ITX cases
- Ugly Mini-ITX cases
- Extremely expensive Mini-ITX cases
What I ended up buying:
- A case with enough space for at least two 3.5″ disks, but not dedicated, just space that could be adapted with some tape engineering
These are all the cases that made it to the final selection:
- Cooler Master Elite 110
- Thermaltake Core V1
- Silverstone ML08
- Fractal Design Node 202
- Silverstone SG05
- Fractal Design FD-CA-NODE-304
At the end, I chose from the category “Mini-ITX cases with additional room for one huge graphics card” and decided that I could install two 3.5″ disks in the extra room using some velcro (which is not what I did then).
I bought the Fractal Design Node 202.
Power Supply (PSU)
The choice of the PSU very much depends on the case.
I had to pick an SFX one and I considered two:
Again, no perfect choice here, as the power that I need is one order of magnitude lower than what these PSUs can offer.
I read some very positive reviews about the Sharkoon and went for that one (it was also slightly cheaper). I have to say that it is really silent. Almost inaudible. The disks are much louder that this PSU.
USB sticks
I bought two 16GB SanDisk Ultra Fit sticks to run the operating system.
They are configured in a mirrored pool using btrfs (so the total available space for the OS is 16 GB).
Assembling!
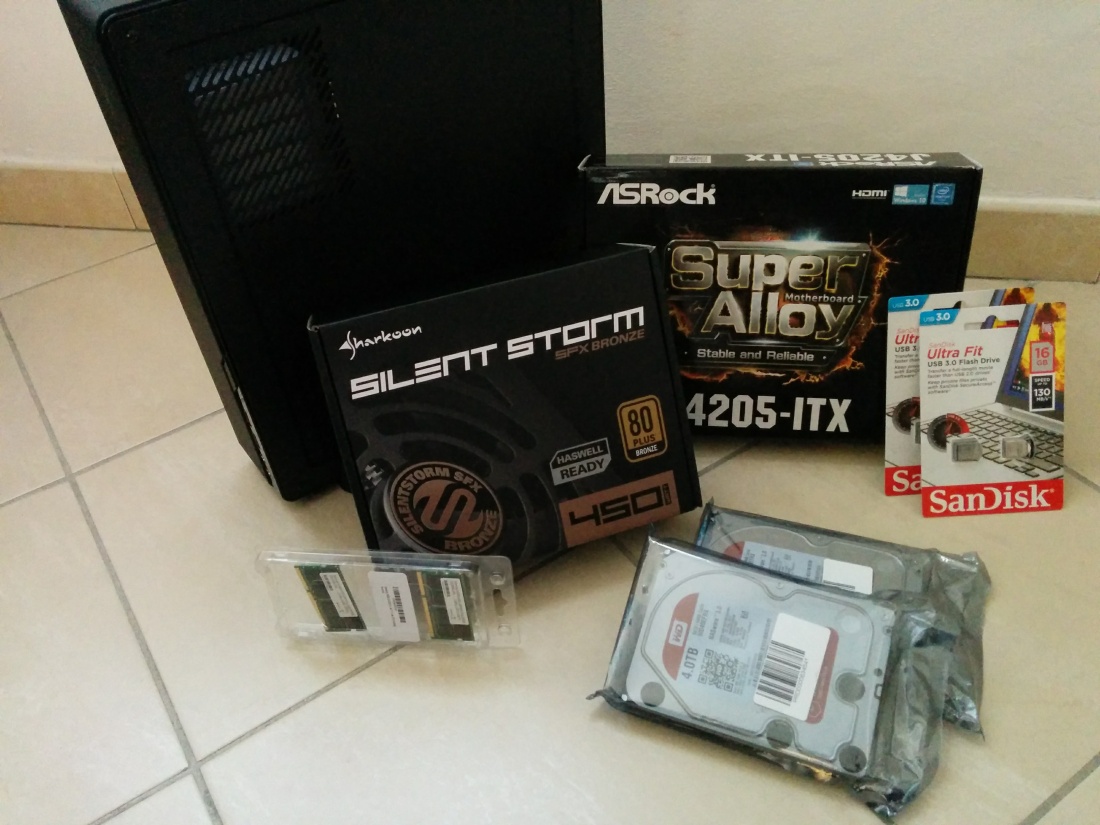
Here are all the components:
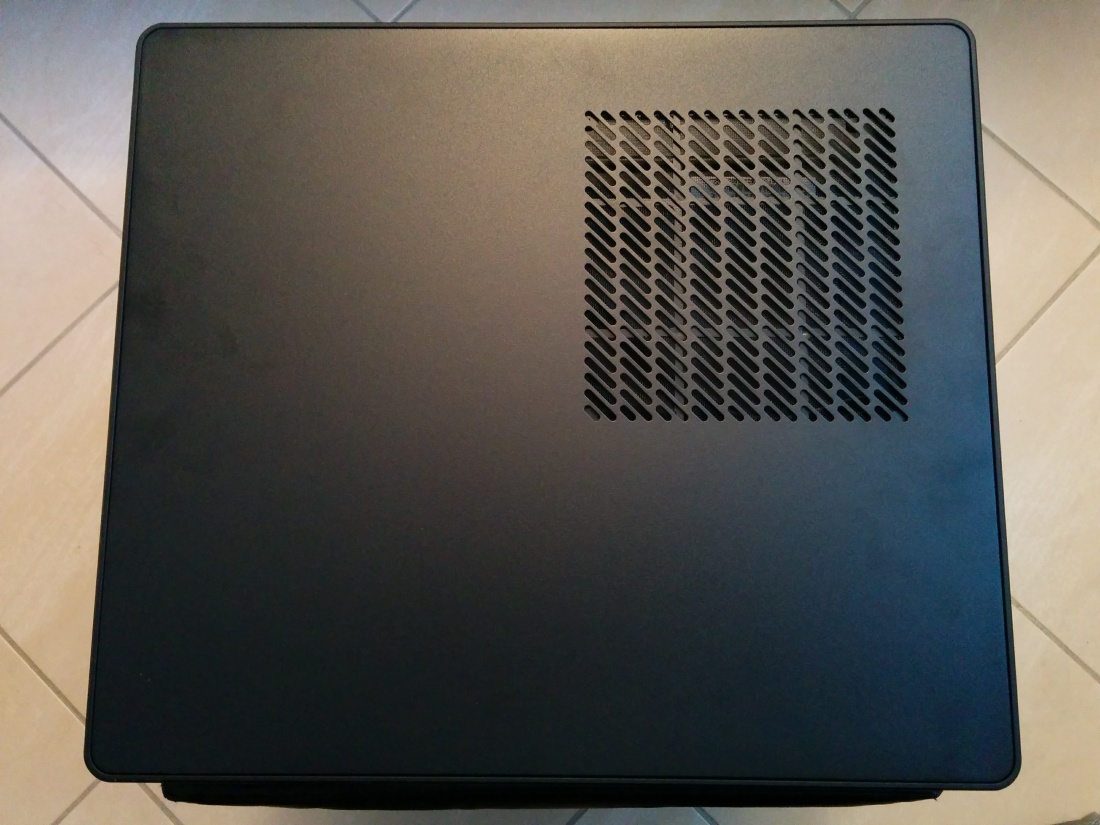
This is how the case looks like from the top, before opening it
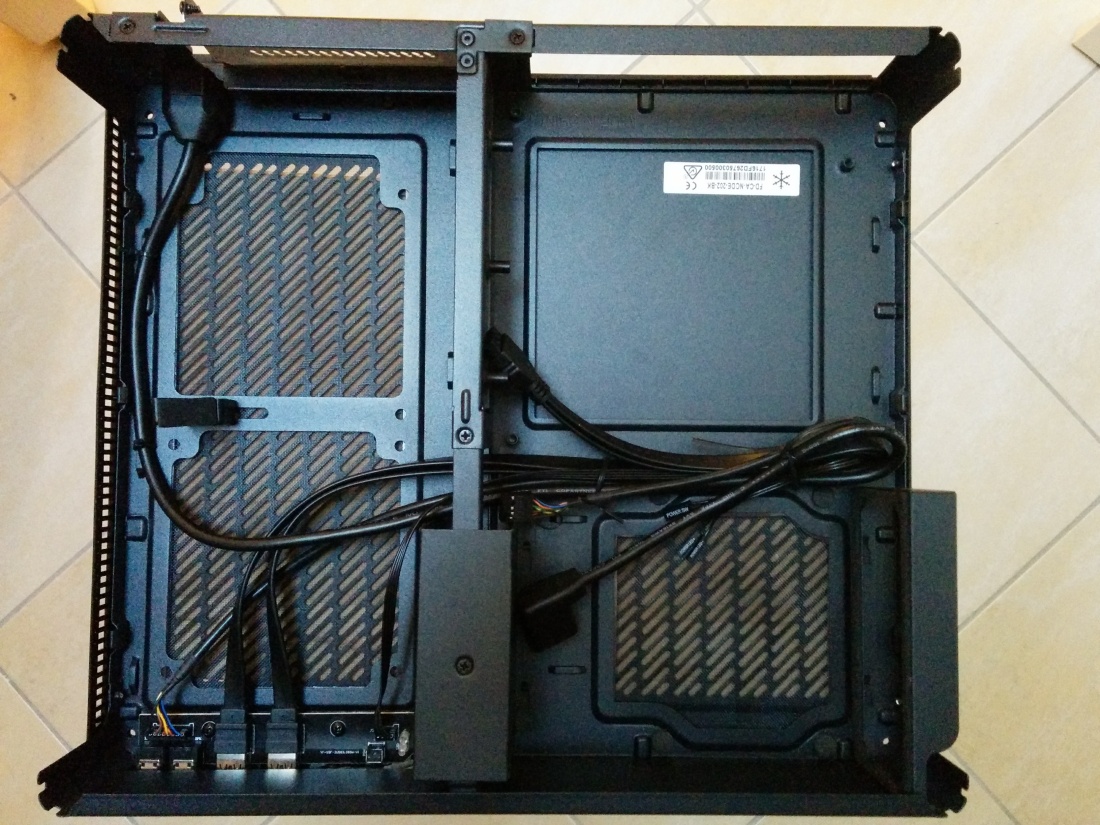
and here is the case opened and empty:
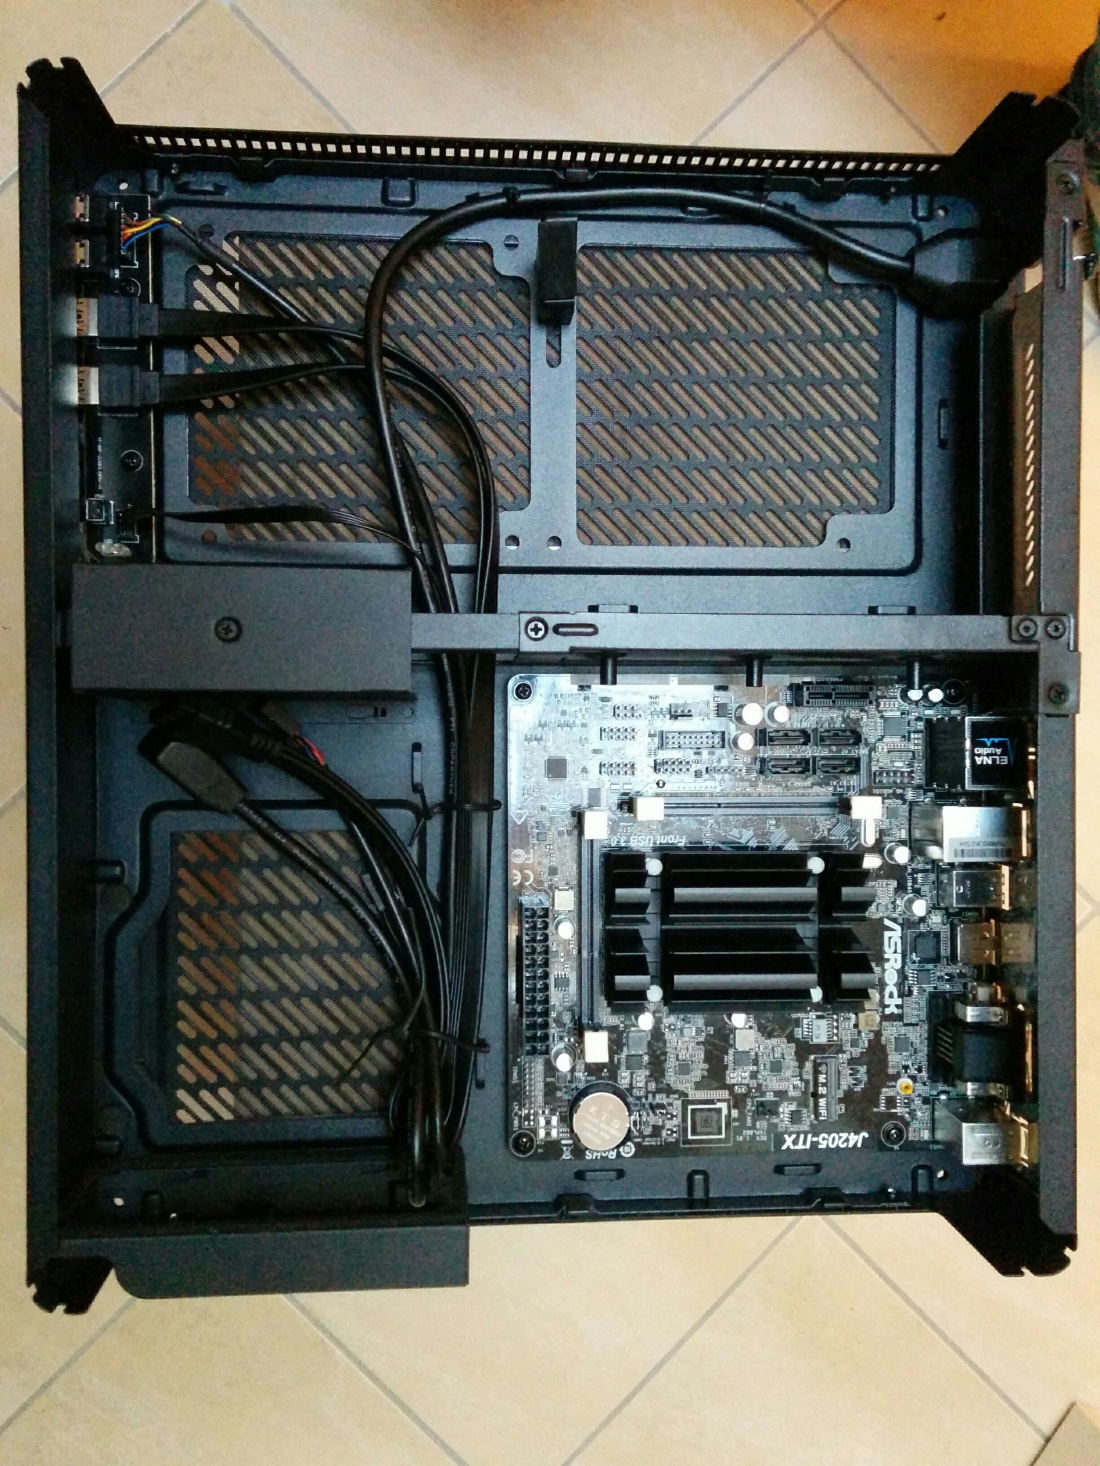
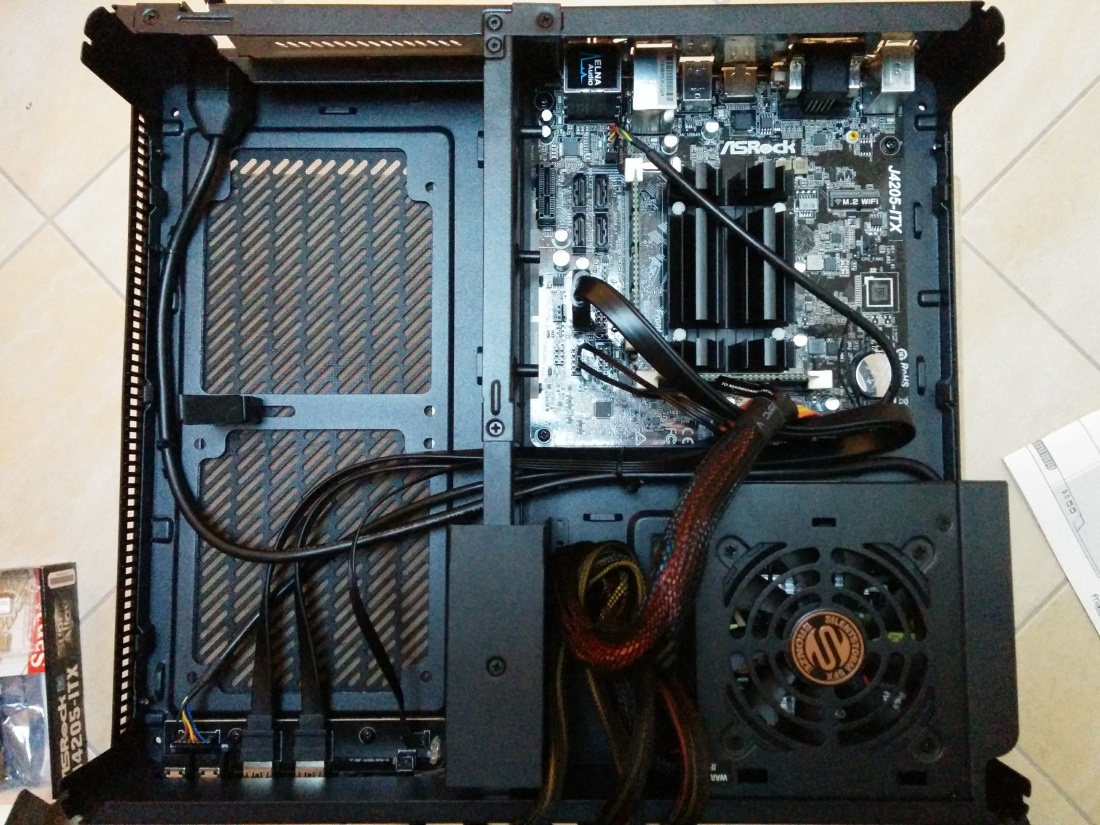
Here is the motherboard installed in the case, it shows how much additional space is there for the graphics card that I don’t need or have:
Here is the PSU in place:
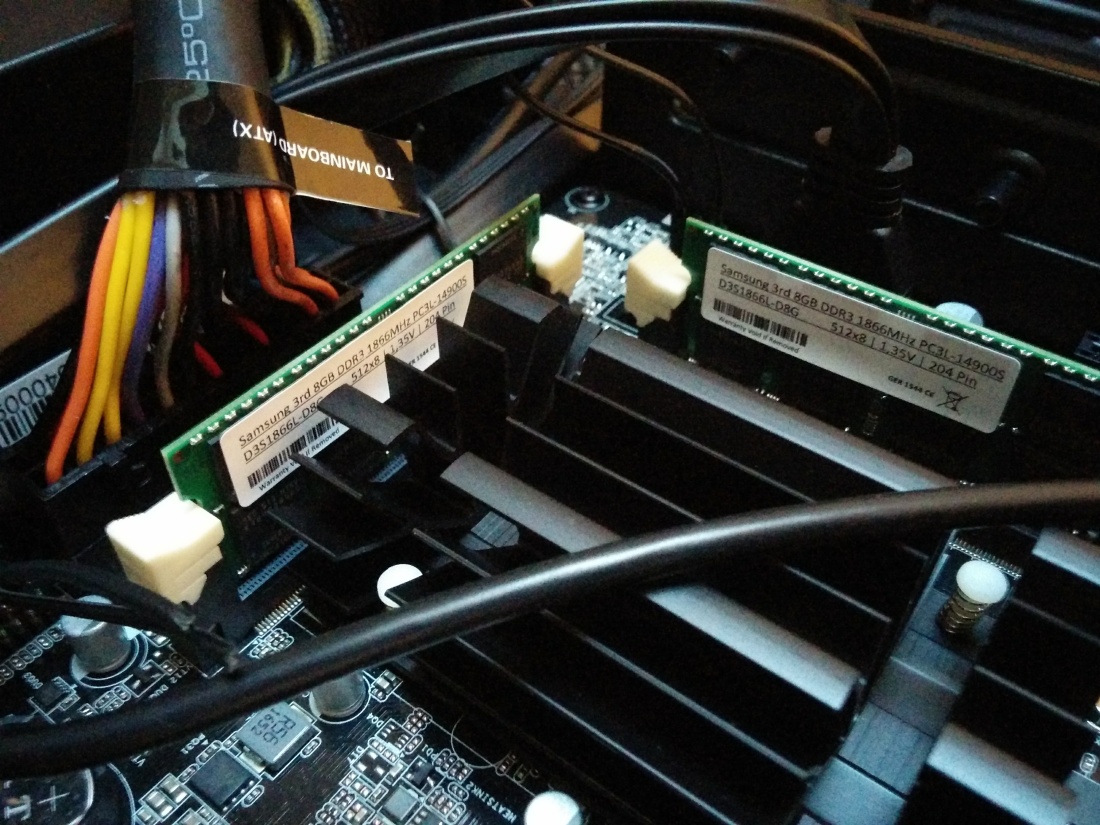
And RAM installed on the motherboard:
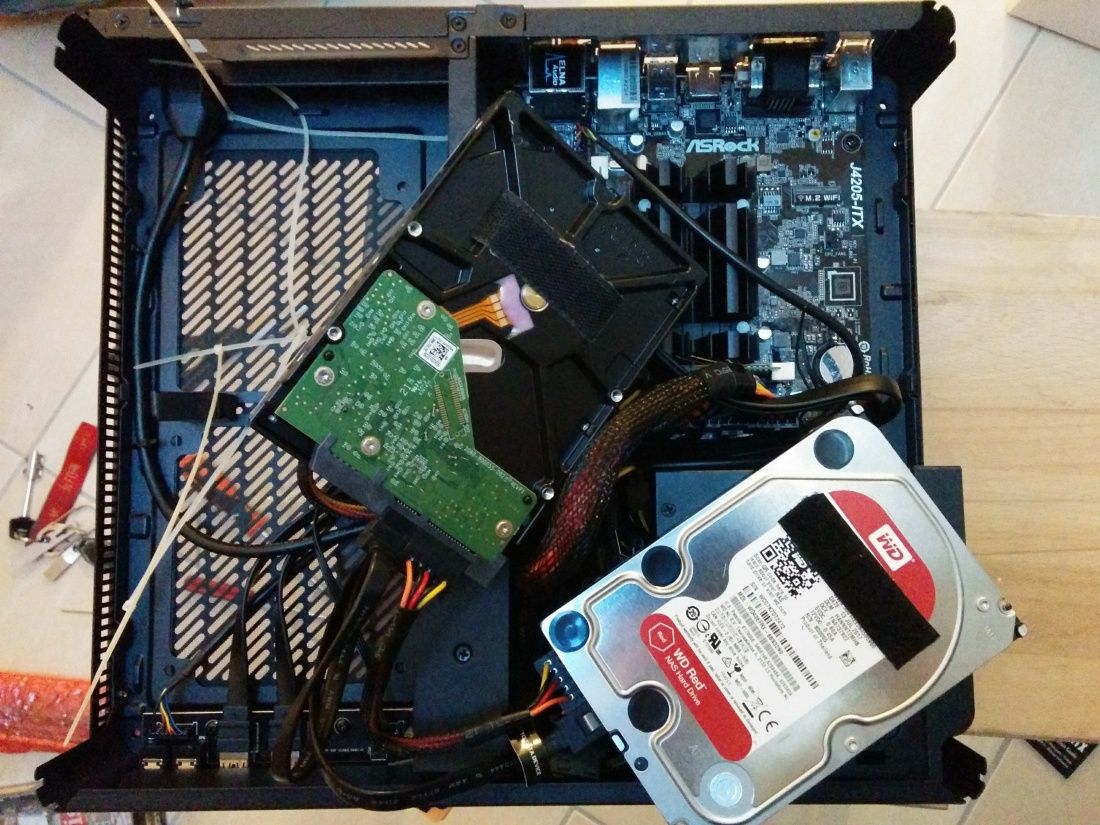
Everything falls in place easily and nicely, but, as expected, there is no dedicated space for the 3.5″ disks (and you can notice how big they are compared to the available space in the next image).
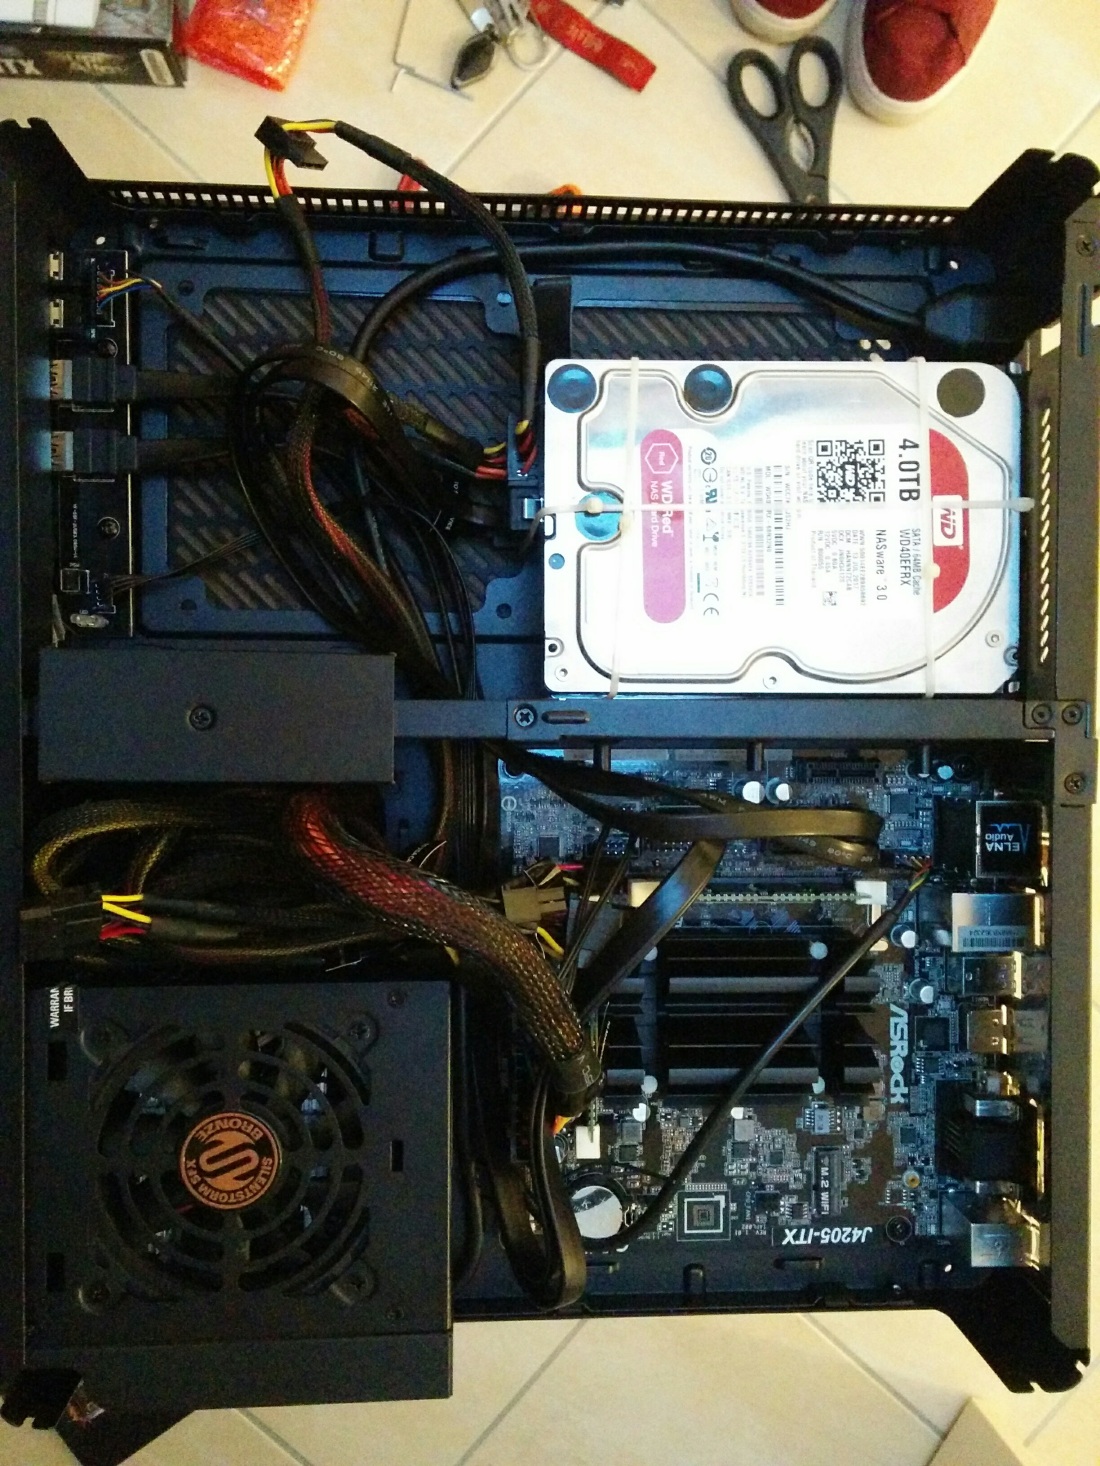
I used some plastic straps that I could anchor at the chassis (top left side in the following image) to create a sort of cage for the disks. The really important thing is to firmly position the disks into place and avoid that they can move around.
I then tied the two disks together, to form a single “block” and anchored everything to the cage:
And that’s it.
What follows?
After the hardware is put together, this is what follows:
- OS installation (from a USB stick, on the USB sticks)
- Network configuration
- OpenSSH server configuration
- Ansible deployment of the ZFS configuration and the docker containers (e.g., owncloud, plex and an openvpn server)
Finished.

Hi,
I’m not able to see pictures
Hi,
Thanks for pointing that out!
I checked and when browsing in private mode in Firefox they are indeed not showing!
I will investigate.
It should be fixed now, thanks again for reporting this!
Thank you for the post. Cheers!
Hi,
Are you happy with Sharkoon PSU? I’m building a similar small server and still thinking about this PSU and Pico PSU. Maybe Pico PSU won’t be enough because I’ll run docker too. Also, need to chose between Fractal Core 500 and Coolermaster 130 cases.
Yes, very happy with the Sharkoon, it’s silent and well built. Docker will not imply more energy usage, it really depends on what processes you will run and how much you will load your system. I can’t say much about the cases, it really takes a long time to choose them without seeing them in your hands, especially if you want the smallest possible for your needs (will everything fit?)!